This section summarizes the step-by-step procedures for each massage area offered at Tsubaki.
This page explains the leg massage.
- [Tsubaki Massage Step 1] Head Massage – Step-by-Step Guide
- [Tsubaki Massage Step 2] Décolleté & Neck Massage – Step-by-Step Guide
- [Tsubaki Massage Step 3] Hand & Arm Massage – Step-by-Step Guide
- [Tsubaki Massage Step 4] Back Massage – Step-by-Step Guide
- [Tsubaki Massage Step 5] Leg Massage – Step-by-Step Guide
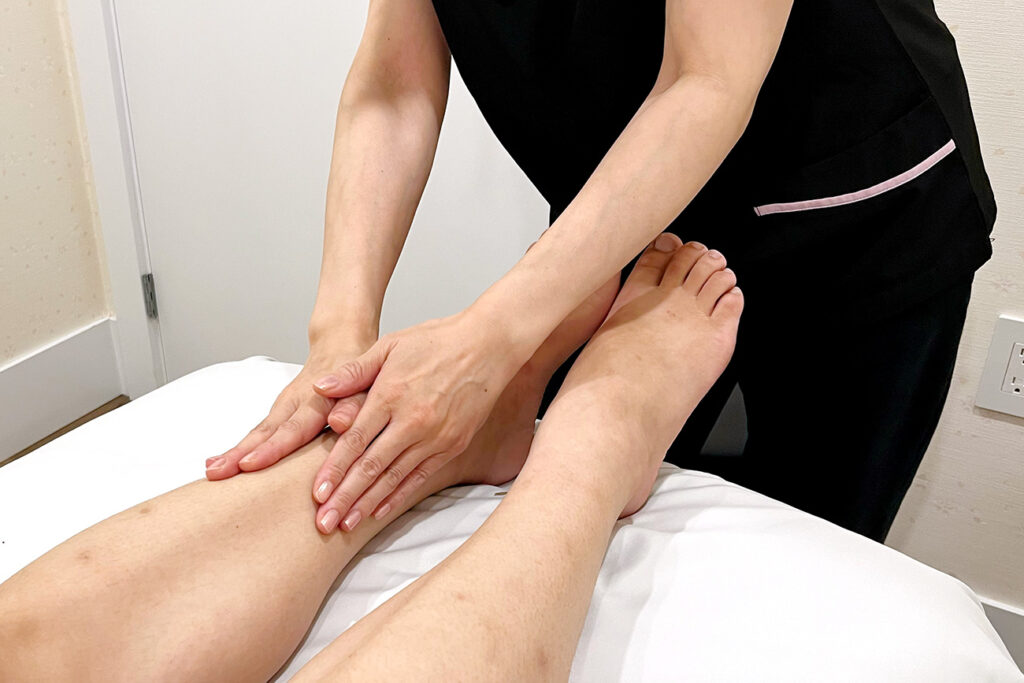
STEP 1: Effleurage to Warm the Entire Legs
Begin by warming the entire legs and relaxing the muscles (Reference: What is Effleurage?).
From the ankles to the thighs: Using the whole palm, slowly glide upward from the ankles to the calves and then to the thighs while applying oil.
During this process, keep the flow directed toward the heart—from the toes toward the top of the thighs—to encourage lymphatic drainage. Avoid strong pressure; use gentle, smooth strokes.
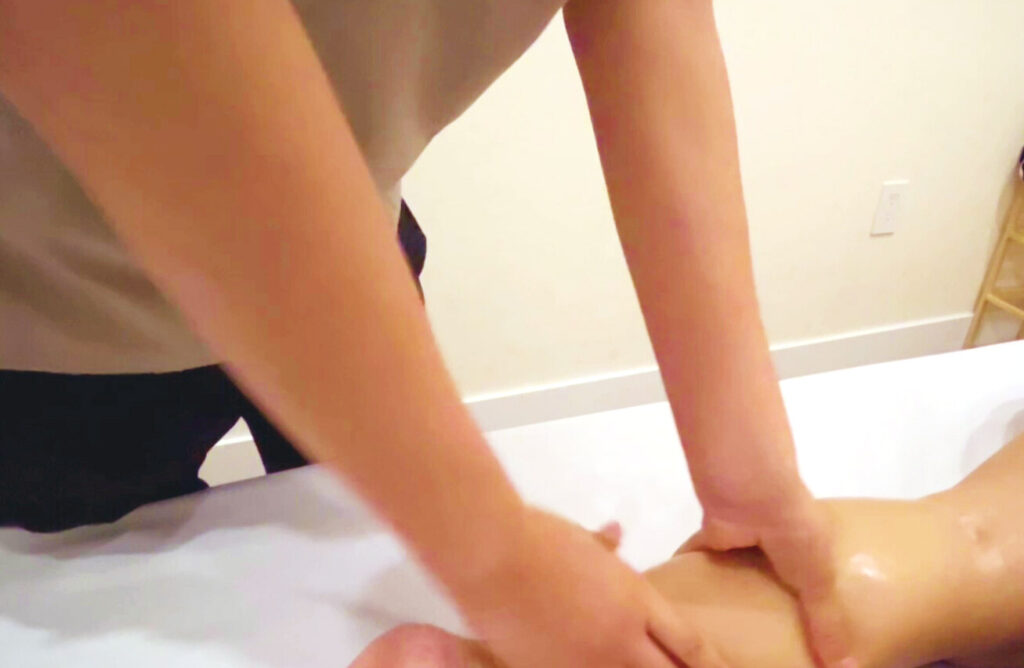
STEP 2: Petrissage to Loosen the Calf Muscles
The calves are often called the “second heart” and play a key role in circulation. Carefully loosening this area helps improve overall blood flow (Reference: What is Petrissage?).
Grasp the thickest part of the calves with both hands and alternately knead as if wringing a towel, imagining the muscle separating from the bone.
Massage the border between the Achilles tendon and the calf with your thumbs and fingertips. As this area tends to tighten, spend extra time here.
Then, don’t forget to knead both the inner and outer sides of the calves.
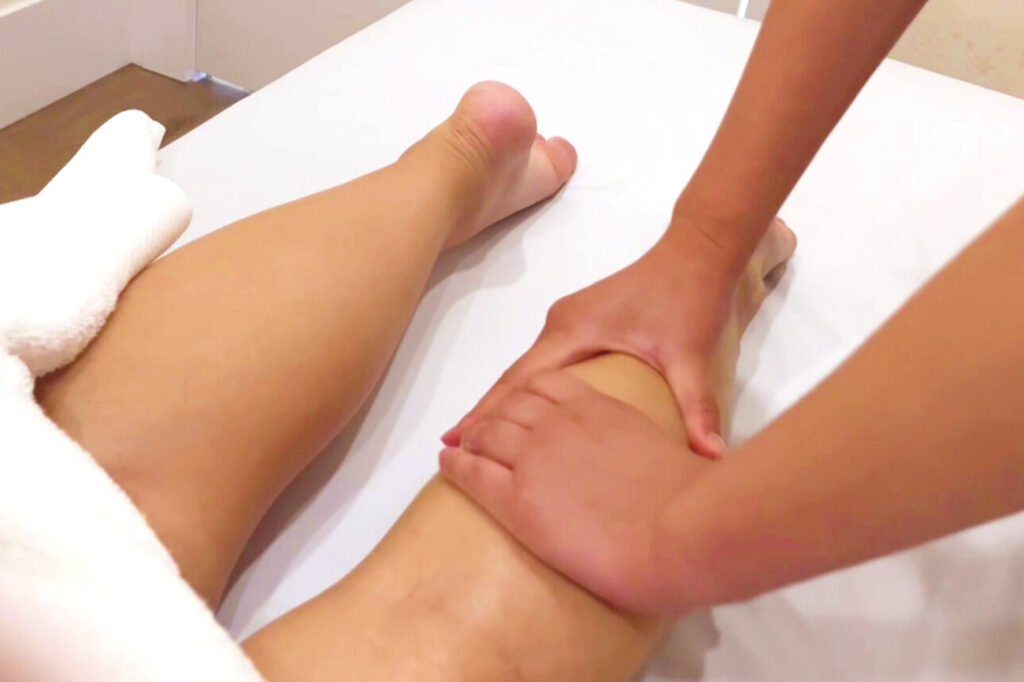
STEP 3: Kneading to Release the Thigh Muscles
The hamstrings on the back of the thighs tend to stiffen from prolonged sitting (Reference: What is Kneading?).
Knead the entire area: Grasp the thigh muscles broadly with both hands and loosen them by rocking side to side, then knead as if “kneading dough.”
Pay special attention to the glute–thigh junction and the backs of the knees.
Friction for deeper tension: For stubborn knots, incorporate friction by applying small circular pressure with the thumbs or the base of the palms.
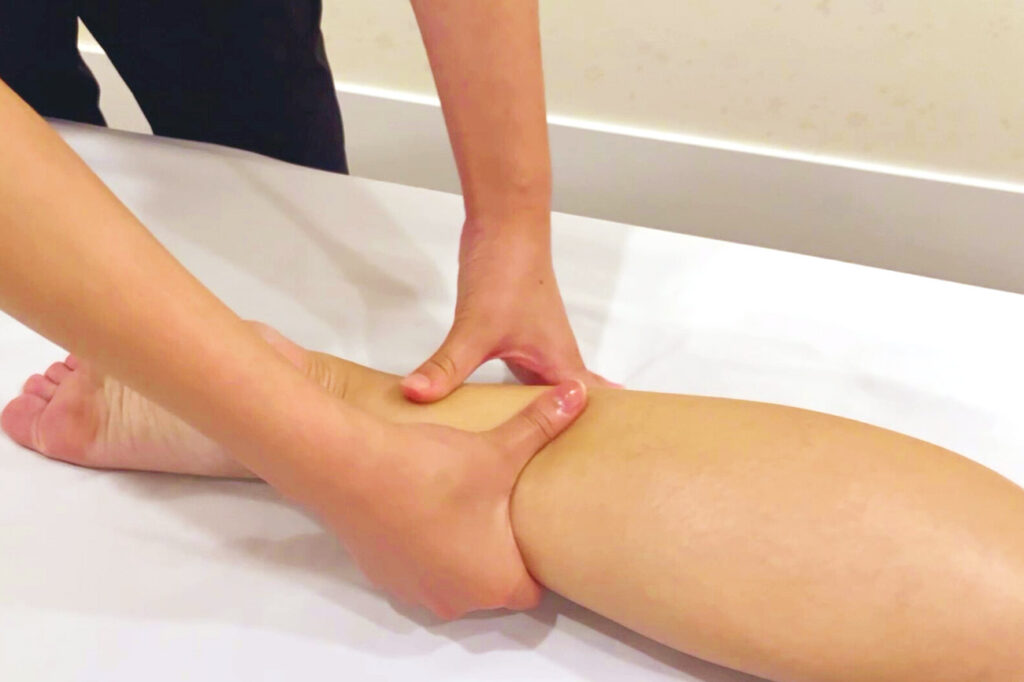
STEP 4: Kneading to Stimulate Foot Pressure Points

Use your fingers to apply deep, steady stimulation to foot pressure points. By adding body weight as you knead, you can address tension and fatigue that are hard to reach with the hands alone.
Massage to break up deep adhesions within the muscles and improve blood circulation.